How To Set Up & Use RankCaddy
We want you to get the most out of your RankCaddy subscription and start seeing results as quickly as possible. In this guide, we run through the basics of setting up your projects and understanding the features of RankCaddy.
Use the links to navigate to the video you need.

Project Setup
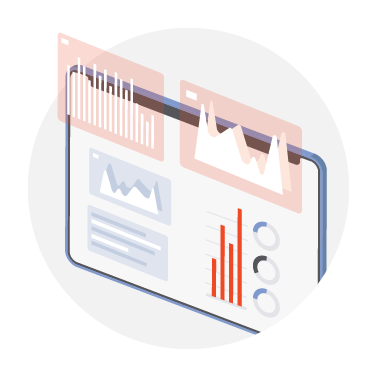
Data Dive

Insights

Rank Tracking

Import Historical Ranking Data

Setting Up Alerts
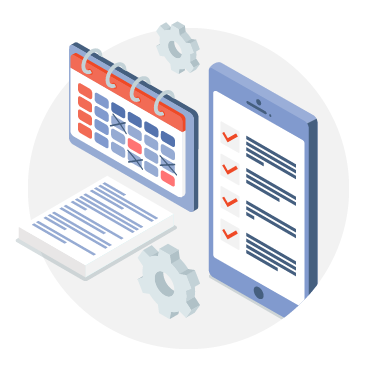
Adding Tasks

Content & Keywords

Users
Project Setup
Let’s get you started with RankCaddy!
Data Dive
Smart blended Google Analytics and Google Search Console data for advanced insights and opportunities. Use opportunity filters for potential quick wins.
Rank Tracking
Flexible tracking. Track your rankings down to a street level, even for organic rankings.
Import CSV
We know you don’t want to lose your old keyword ranking data, so we make it super simple to import your historical ranking data into RankCaddy. Pick up right where you left off!
Adding Tasks to Investigate
We know how busy and stressful a job can be, and it’s easy to miss opportunities or forget to investigate them. In this video, we talk you through adding tasks to RankCaddy.
Alerts
Add flexible alert rules and sub-rules to get the ranking updates that matter to you.
Content & Keywords
RankCaddy’s Content & Keywords feature helps you find tons of content ideas to grow your organic traffic and improve your rankings
Users
Add unlimited users to your projects.
You Should Be All Set!
You should now be set up and ready to start getting the best out of RankCaddy. However, if you need any further advice or encounter any issues, don’t hesitate to Contact Us at [email protected].